Composting Food Scraps from Home
Composting at home is nature’s way of recycling by converting organic materials, such as food scraps (fruits and vegetables) and yard waste trimmings (leaves and grass) into a dark, earthy-smelling soil conditioner called humus. Compost fortifies soil, holds water, reduces greenhouse gas emissions and the need for synthetic fertilizers.
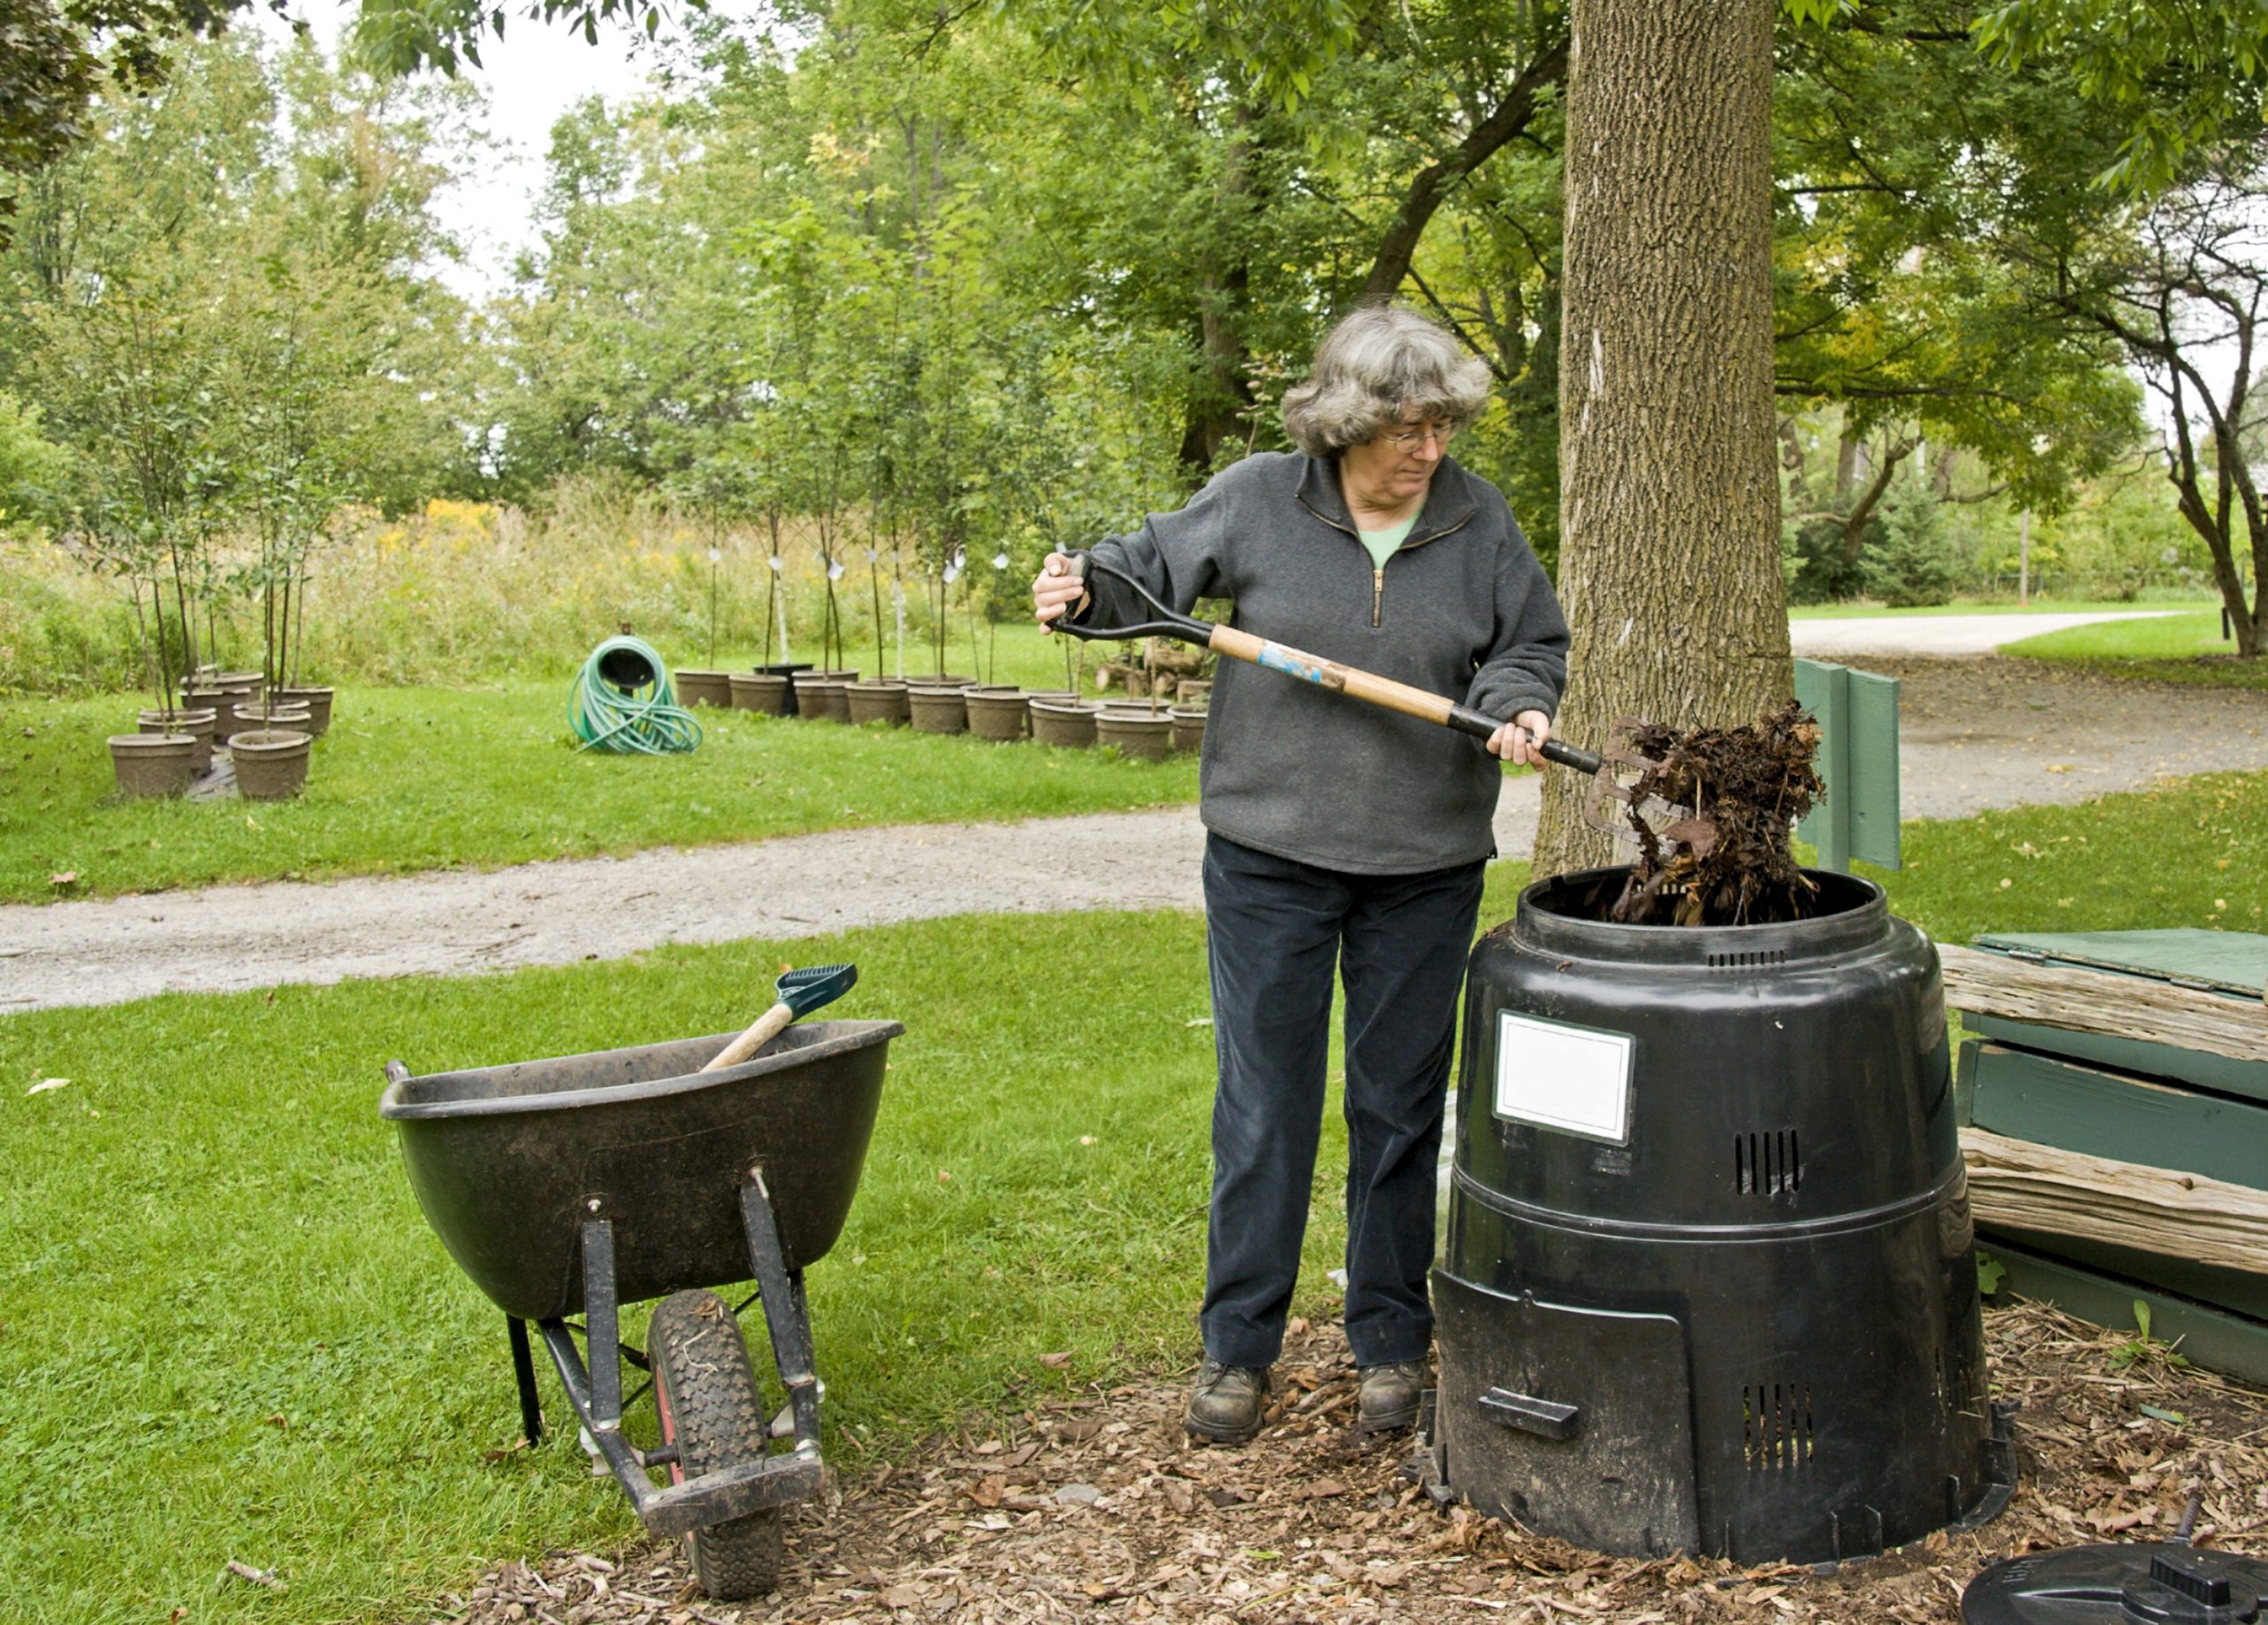


BACKYARD COMPOSTING
Of all composting options, home-based composting has the lowest carbon footprint, since it requires no transportation and involves the least processing. – City of Evanston


Ways to compost in your backyard
PILE vs BIN
- PILE – Some people start with an open pile, which works great for just leaves and grass clippings. You can build your pile directly on the ground. To help with aeration, you may want to place some woody material on the ground where you will build your pile. You can also give your pile some structure with chicken wire, snow fencing, or by nailing scrap wood together to make a four-sided box.
- BIN – If you want to incorporate food waste, it’s time to use a covered bin to keep animals out. Closed-top bins include turning units, stacking bins, and bins with flip tops. There are numerous styles of compost bins available depending on your needs. These may be as simple as a moveable bin formed by wire mesh or a more substantial structure consisting of several compartments. There are many commercially available bins. While a bin will help contain the pile, it is not absolutely necessary.
Many communities provide their residents free or discounted bins to encourage backyard composting. Bins can also be purchased from retail or online businesses. Take the time to consider your options and then select a bin or pile to fit your needs.
LOCATION
Select a dry, shady, or partly shady spot near a water source and preferably out of sight for your compost pile or bin. Ideally, the compost area should be at least three feet wide by three feet deep by three feet tall (one cubic yard). This size provides enough food and insulation to keep the organisms in the compost warm and happy and working hard. However, piles can be larger or smaller and work just fine if managed well.
Getting started
The first thing to do is to check with your local community to identify if there are any restrictions regarding composting in your yard and whether you are required to have a covered bin. Urban yards will have different guidelines than rural yards.
Slow and easy – With cold or slow composting, you can just pile grass clippings and dry leaves on the ground or in a bin. You can also cold compost kitchen scraps but you will need a bin for that. This method requires no maintenance, but it will take several months to a year or more for the pile to decompose. Cold composting works well if you don’t have time to tend the compost pile at least every other day, have little yard trimmings or food scraps, and are not in a hurry to use the compost. Keep weeds and diseased plants out of the mix since the temperatures reached with cold composting may not be high enough to kill the weed seeds or disease-causing organisms. Simply add yard trimmings and food scraps as they accumulate. See https://extension.oregonstate.edu/news/slow-cool-composting-easy-way for more details.
Fast with a bit of effort – Hot composting requires more work, but with a few minutes a day and the right ingredients you can have finished compost in a few weeks depending on weather conditions. The composting season coincides with the growing season. When conditions are favorable for plant growth, those same conditions work well for biological activity in the compost pile. However, since compost generates heat, the process may continue later into the fall or winter.
- Hot piles do best when high-carbon material (browns) and high-nitrogen material (greens) are mixed in a 1 to 1 ratio.
- A pile with the minimum dimensions of 3′ x 3′ x 3′ is needed for efficient heating. For best heating, make a heap that is 4 or 5 feet in each dimension.
- As decomposition occurs, the pile will shrink.
- Hot piles reach 110 to 160 degrees Fahrenheit, killing most weed seeds and plant diseases.
What can be composted
The composting process involves four main components: organic matter, water, oxygen and microorganisms. Basic ingredients:
- Browns – This includes materials such as dead leaves, straw, newspaper
- Greens – This includes materials such as grass clippings, vegetable and fruit scraps, and coffee and tea grounds.
- Water – Having the right amount of water, greens, and browns is important for compost development.
You should alternate layers of brown and green materials. The brown materials provide carbon (energy) for your compost, the green materials provide nitrogen (nutrients), and the water provides moisture to help break down the organic matter for the microorganisms.
Acceptable Materials for a Yard Composting Bin:
Greens – nitrogen-rich materials:
Grass clippings (no chemicals)
Fruits and vegetables
Bread, grains, cookies, and baked goods
Coffee grounds and paper filters
Tea bags (no staple) or loose leaves
Chicken, rabbit, cow or horse manure
Hair and fur
Silk and wool textiles
Browns – carbon-rich materials:
Leaves, twigs
Shredded paper and cardboard rolls
Sawdust hay and straw
Wood chips
Egg shells
Dried-out flowers or plants
Nut shells
Ashes, in small amounts, from wood-burning fireplaces
Dryer and vacuum cleaner lint (free of synthetic fibers which don’t break down)
Cotton textiles
Unacceptable Materials – Do Not Add:
Black walnut tree leaves or twigs
– They releases a chemical that inhibits the growth of some plants (https://www.mortonarb.org/trees-plants/tree-and-plant-advice/horticulture-care/plants-tolerant-black-walnut-toxicity)
Coal or charcoal ash
– Might contain substances harmful to plants
Dairy products (e.g., butter, milk, sour cream, yogurt)
– Creates odor problems and attracts pests such as rodents and flies
Diseased or insect-ridden plants (unless hot composting)
Fats, grease, lard, mayonnaise, and oils
– Slows down composting by reducing air flow and displacing water
Meat, fish, or bones
– Creates odor problems and attracts pests such as rodents and flies
Pet wastes (e.g., dog or cat feces, soiled cat litter)
– Might contain parasites, bacteria, germs, pathogens, and viruses harmful to humans
Yard trimmings treated with chemical pesticides
– Might kill beneficial composting organisms
Anything not biodegradable
Using compost
Here are the three main uses of compost:
1. Soil Amendment
Adding compost improves the physical structure (tilth) of soil. In heavy soils, compost improves water drainage and aeration while in sandy soils, it helps it hold both moisture and nutrients. Compost also contains nutrients that are released slowly so it won’t burn plants like fertilizer can. It also promotes microorganisms that improve nutrient availability and uptake.
Compost can be added to your garden beds annually in the spring or fall. Simply mix a few inches of compost into the top 6-8 inches of soil. You can also add compost to the soil when planting trees, shrubs, annuals or perennials.
Compost may be used as a lawn top-dressing, but it should not be applied more than a ¼ inch thick. Because nutrients are released slowly, compost can be applied any time during the growing season. Be sure to use compost that has had larger particles removed.
Compost can be used in the flower or vegetable garden as a side-dressing to add nutrients throughout the growing season as needed. To side-dress a plant, add about an inch of compost around the plant and work it into the soil, starting about an inch from the stem, out to the drip line, taking care not to disturb the roots. For shallow-rooted plants, don’t work in but leave a 2-inch layer of compost on the soil surface.
2. Potting Soils
Compost is high in nitrogen and should not be used alone as a medium for growing plants. Too much nitrogen causes excess growth of leaves, slows root growth, and inhibits flower formation. For potted plants, only about ¼ to 1/3 by volume of the potting mix should be compost, with the rest made of perlite or vermiculite. If you want to be sure your potting mix is weed-free, heat the material in an oven at 160oF for 30 minutes.
3. Mulch
Mulch is used in gardens to suppress weeds, reduce soil erosion, modify the soil temperatures (cooler in the summer, warmer in the winter), and conserve soil moisture. Compost makes an ideal mulch around flower beds, vegetable gardens, or around trees or shrubs in landscape beds. Apply a 3-inch layer, being careful not to apply mulch close to the main stem or trunk of the plant. Periodically throughout the summer, you may need to add more compost over the old layers to maintain the benefits of the mulch.
Preventing common problems
Composting is not an exact science. Experience will tell you what works best for you. If you notice that nothing is happening, you may need to add more nitrogen (greens), water, or air. If things are too hot, you probably have too much nitrogen. Add some more carbon materials (browns) to reduce the heating. A bad smell also may indicate too much nitrogen or not enough air.
Breaking materials down to small pieces speeds up the composting process. Brown materials take longer to decompose, so additional greens or fertilizer can be added.
Cold composting often proceeds faster in warmer climates than in cooler areas. Cold piles may take a year or more to decompose depending on the materials in the pile and the conditions.
Adding kitchen wastes to compost may attract flies and insects. To prevent this problem, make a hole in the center of your pile and bury the waste. Do not compost meat scraps, dead animals, pet manure, diseased plant material, or noxious weeds.
Illinois resources for backyard composting
Links to IFSCC member and allied partner websites with info on backyard composting:
- EPA Backyard Composting Guide
- ILSR Home Composting 101
- SWALCO Tips for Making Better Compost
- Teegen Compost community garden and backyard composting services
- Create a Backyard Compost Bin
If you have extra space in your bin or you’re looking to take your food scraps somewhere nearby, check out sharewaste.


COMPOSTING INDOORS
WORM COMPOSTING (Vermicomposting)
Vermicomposting uses worms to turn organic material such as food and paper scraps into humus, the nutrient-rich part of soil composed of decayed matter.


Getting started
Composting with worms, known as vermicomposting, utilizes red wiggler worms and microorganisms (bacteria, protozoa, molds and fungi) to convert organic materials (fruits & vegetables) into black, earthy-smelling, nutrient-rich humus.
Do your research and decide the type of bin you want to use. They can be purchased at garden shops, on-line stores or made from drilling holes in a plastic storage bin and lid. A double worm bin system allows for the liquid to be collected and used as a fertilizer. A worm bin with multiple tiers makes harvesting the compost and separating out worms much easier. See the RESOURCES SECTION for additional information.
The worm bin must be kept indoors, as worms can freeze outside in winter or be too warm in summer months. Keep the bin under the kitchen sink or in the basement when possible.
Setting up the worm bin:
The approximate size is 16″ x 24″ x 8″ or 10 gallons. A good rule of thumb is to allow 1 square foot for each household member. Make sure the bin is clean by rinsing it with tap water to remove any residues which may be harmful to the worms. Do not fill the bin more than 2/3 full of the bedding mixture.
Bedding for worms:
- Brick of coconut fiber, soak first in a bucket of water to loosen fibers
- Thin strips of shredded newspaper, no bleach or colored paper, soy ink only
- Sprinkle 2-4 cups of soil in the bin, which introduces beneficial microorganisms. Gritty soil particles also aid the worms’ digestive process. Potting soil, or soil from outdoors is fine.
- Small pieces of corrugated cardboard or leaves (browns)
- Chlorine-free water to moisten materials (water should not drip when materials are made into a ball and squeezed)
The worms:
One pound of red worms is about 1,000 worms – they are very small). The amount of worms is important for knowing how much food to feed them and for recordkeeping. Worms eat half their weight per day, so if you have a pound of worms (1,000) to start, slowly increase the food as the worms procreate.
- Dump out the bag of worms onto the bedding.
- Gently spread any clumps of worms around the surface. They are light-sensitive and will quickly retreat beneath the top layer.
- Cover with bedding with thin strips of moist newspaper.
- Place the bin on the tray and put the lid on tightly.
- FEED, WATER and FLUFF!!!
To keep worms happy, feed them about once a week. If bedding dries up, spray with water. (If bedding gets too wet, add dry newspaper strips.) Fluff up bedding once a week so the worms get enough air.
For more information about getting started, see the section More Information About Vermicomposting below.
What can be composted
What to feed worms:
- Fruit and vegetable scraps that would normally be thrown away, such as peels, rinds, cores, etc.
- Loose coffee and tea grounds, with staples removed from tea bags.
- Worms need protein, so you can occasionally feed them cornmeal and crushed unsalted peanuts.
What NOT to feed worms:
DO NOT add meats, bones, oils, fats or baked sweets, dairy products, or dog or cat waste.
- Limit the amount of citrus fruits that you place in the bin, as too much acid can cause the worms to crawl up the sides and want to crawl out.
- Limit the amount of onion and garlic scraps to reduce odors.
How to feed worms:
- Cut food scraps into small pieces.
- Avoid overloading the bin with any one food item – moderation is the key.
- Slowly increase from a couple of pounds of food the first week to 4-5 pounds by the fourth week, as worms mate and multiply.
- See how fast food disappears before adding more.
To keep worms happy, feed them about once a week. If bedding dries up, spray with water. (If bedding gets too wet, add dry newspaper strips.) Fluff up bedding once a week so the worms get enough air.
Using vermicompost
Harvesting vermicompost:
For a single unit bin: After six to twelve months, most of the bedding should look like dark, rich soil. To harvest compost and rebed the bin, push the compost to one side of the bin and fill the empty side with fresh bedding. Then bury food scraps only in the new bedding until any food scraps in the old bedding finish decomposing, and most worms have migrated to the fresh food. Harvest finished compost and replace with fresh bedding.
A stackable tray bin: Use the top tray for feeding worms. When the material in the bottom level is decomposed and worms move up into fresh materials, the tray is removed, harvested, then re-bedded and replaced on top. Additional detailed instructions will come with purchased bins.
Using vermicompost:
The vermicompost mixed with potting soil (1:3) can be used as a natural fertilizer when planting vegetable gardens, flowers and landscaping projects.
Top dress houseplants, gardens or lawns by sprinkling the compost around the base of plants or grass to provide organic matter and additional nutrients
Ingredient in potting mixes – add 1/3 vermicompost to potting soil when repotting plants indoors or outside.
Seeds and transplants – sprinkle vermicompost into seed row before planting seeds or place a handful in the bottom of holes dug for transplants.
Fertilize plants by placing vermicompost in an old nylon stocking in a bucket of water for a few days, then use for watering plants.
Harvesting worms:
It is simple to pick out a few worms for fishing or starting a new bin. To harvest more worms to start new bins, shovel a few gallons of compost into a pile in bright daylight. After 15 minutes, scrape away the outer layer of compost until many worms are visible. Repeat until worms are concentrated at the bottom of the pile. Give to a friend and start a new bin – or put in soil.
Preventing common problems
| Symptoms | Cause | Solution |
| Smells like rotten eggs | Too wet; Unacceptable food; Food scraps not covered | Mix in dry leaves or coconut core; Cover food with bedding; Make sure there are enough air holes in bin |
| Bedding is dry | Not enough water | Spray bedding with water; Cover bedding with moistened cardboard pieces |
| Food scraps building up | Too much food; Bin too cold or hot | Limit food scraps; add more worms; Move bin to different location; Keep bin filled with bedding |
| Maggots in bin | Meat, dairy or other animal products | Keep these items out of bin; Cover bedding with cardboard pieces |
| Worms crawling up sides | Bedding too wet or acidic; Too much food | Limit citrus food scraps; Add dry bedding |
| Fruit flies | Food is not buried under bedding | Put beer or cider vinegar in a cup covered in plastic film with small holes (poke with a toothpick). Put lid on bin. If persists, put outdoors without lid (in cold weather); or vacuum fruit flies up when you open the bin. |
| Mites | Food in large bunches | Some are fine, if excessive wipe off sides of bin and large bunches of food. |
| Enchytraeids (white worms) | Commonly found in worm bins | They are harmless and can be left alone. |
More information about vermicomposting
ILSR’s Vermicomposting 101 Guide: The fundamentals of composting with worms, including worm facts, managing a worm bin, and how to harvest vermicompost.
https://www.northeastworms.com/
Directions to make a worm bin:
https://www.epa.gov/recycle/how-create-and-maintain-indoor-worm-composting-bin
https://composting.ces.ncsu.edu/vermicomposting-2/earthworms-and-worm-bins/
http://compost.css.cornell.edu/worms/steps.html
COMPOSTING INDOORS
Bokashi, a Japanese term, is an anaerobic (without oxygen) process of food scrap decomposition.

What is Bokashi?
Bokashi is technically a form of fermentation that uses microorganisms to break down organic matter. The process will create a “pickled” mixture of your kitchen scraps which needs to finish decomposition in contact with soil microorganisms. This can be done by mixing the fermented scraps in the ground or in a pot with soil, or adding to a compost bin or pile. You can use Bokashi to pre-compost food scraps not recommended for a compost pile or bin, including meats, bones, fats, and dairy products.
What are the advantages of using the Bokashi method?
- Most types of food waste can be composted, including meat, bones, fats, and dairy.
- The carbon-to-nitrogen ratio doesn’t matter.
- It is done indoors or in the garage.
- It can be done on a small scale, taking up little space.
- Food waste is protected from vermin.
- The odor associated with the process is more “yeasty” or vinegary than putrid.
- The container is sealed most of the time so odors are less likely to escape.
- Minimal or no greenhouse gases are produced
How much does it cost to Bokashi?
A DIY container made from a 5-gal bucket, repurposed implements, and reused absorbent materials can be inexpensive, with the main cost being the purchase of the microorganisms. Commercial systems can run from $25 and up plus the cost of the microorganisms. You can make your own microorganism supply, see the Resources list.
For more information about Bokashi, see the section More Information About Bokashi below.
Getting started
What materials do I need?
- A container for holding food scraps, 2-4-quart size with a tightly fitting lid. A tightly fitting lid is important to keep insects (and pets) out of the scraps. Also, using a small holding container or storing food scraps in the refrigerator reduces the chance of odors forming before you start the fermenting process.
- A container for the fermenting process that is airtight since this process needs to be as free of air (oxygen) as possible.
- The containers are often in the 2–5-gallon range and can be do-it-yourself (DIY) or commercially manufactured. If DIY, it’s easiest to find a 5-gallon bucket at any hardware store.
- Some pre-made Bokashi containers have a spigot to remove the liquid (leachate) produced during fermentation. If there isn’t a spigot, you need to add dry, liquid-absorbing material (untreated sawdust, dried leaves, shredded paper, shredded egg cartons, or paper towels) to the bottom of the container.
- If you want to continually ferment your food scraps, you will need two fermenting containers.
- A weighted pressure plate or potato masher for compressing the organic material to remove excess air.
- A source of microorganisms; usually a purchased inoculated bran or a commercial spray.
How do I make Bokashi?
- Process your food scraps by chopping or shredding them to remove any large pieces; smaller pieces around a square inch will ferment faster than larger ones.
- Collect the processed scraps in the 2-4 qt holding container.
- When your holding container is full, place the scraps in a clean Bokashi bucket. If using a DIY container without a spigot, before you add the food scraps, add two inches of liquid-absorbing material to the bottom of the bucket.
- In either the commercial or DIY container, use a potato masher or pressure plate to force as much air as possible out of the material. If you use a plate, you can store it in the container while the food scraps are fermenting.
- If using a commercial Bokashi fermenter, follow manufacturer’s instructions for the amount of inoculum to use. In a DIY 5-gallon bucket, add a handful of Bokashi bran for each inch of compressed food scraps.
- When another quantity of scraps has been collected, add, press, and inoculate. Do not mix the new material into the previous layers.
- Try to limit the amount of time the fermenting container is exposed to air. Oxygen slows or stops the fermentation process. Have everything ready before you open the container.
- Once the container is full, set it aside for 2-3 weeks to ferment. If you would like to continue to ferment, set up a second container so you can rotate between the two; one to collect food scraps while the other is fermenting.
- If the fermenting container has a spigot, drain out the liquid (leachate) every few days during active fermenting. The liquid can be diluted with water, at least 100:1 and poured on your garden soil, or poured full strength down the drain. It can also be added to a compost pile or bin. There is little or no empirical evidence about the benefits or drawbacks of using the liquid produced in this process.
Using Bokashi food scraps to make compost
What do I do with the fermented food scraps?
After the 2-3 weeks of fermentation, the food scraps will still be recognizable but will be pickled and have a sour odor. It is normal for the fermented scraps to have some white mold growing on the surface.
Combine the fermented food scraps with soil, either in the ground or in a pot, and let it lie dormant for about a month. The pre-compost directly out of the bucket is highly acidic and needs the soil microbes to balance it out before plant roots can safely grow in it. Alternately, you can add the fermented food scraps to a compost bin or pile where it will finish decomposing. Be sure to clean your Bokashi fermenter with a mild cleaning solution before setting it back up.
Preventing common problems
What if it smells?
Bokashi should have a “sweet and sour odor.” It should not smell like other sorts of anaerobic decay because these fermenting microbes do not produce the rotten egg odor of an anaerobic compost pile. If decay does occur, it can sometimes be reversed by adding more Bokashi microorganisms. If this doesn’t work, it’s time to dump that batch, scrub the bucket, and start again.
More information about Bokashi
About the process:
https://www.planetnatural.com/composting-101/indoor-composting/bokashi-composting/
Make your own microorganisms:
https://www.the-compost-gardener.com/bokashi.html

Why Compost

Start Composting

Using Compost

Haulers & Processors

Resource Directory
We Compost Partners